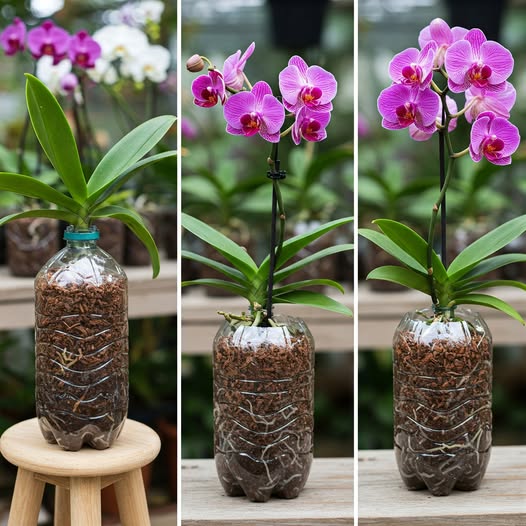
Fill a small pot or tray with moist orchid bark or sphagnum moss.
Insert the cut end of the leaf about 1–2 cm into the medium.
Make sure the leaf stands upright and is stable.
Step 4: Provide Humidity
Cover the pot with a clear plastic bag or dome to retain humidity.
Keep it in bright, indirect light—avoid direct sunlight.
Step 5: Watering
Mist the medium lightly to keep it slightly damp.
Avoid overwatering, as the leaf can rot quickly.
Step 6: Wait for Growth
Be patient: new growth can take several weeks to months.
Look for small plantlets forming at the base of the leaf or along the cut.
Step 7: Transplant
Once tiny roots and shoots appear, carefully transplant into a larger orchid pot with regular orchid mix.
💡 Tips:
Single-leaf propagation is slow and not always successful—using multiple leaves or a whole plant increases success.
Keep the environment warm and humid; orchids thrive at 70–80°F (21–27°C) with high humidity.
Avoid letting water sit on the leaf base, as this encourages rot.
