Rinse the bottle thoroughly. Cut it in half. Use the top half (with cap) as the filter and the bottom half as a container to collect filtered water.
Step 2 – Create Filtration Holes:
Melt 3–5 small holes in the bottle cap using a soldering iron or heated metal rod. Optionally, add a few tiny holes along the neck’s sides to improve water flow.
Step 3 – Build the Filtration Layers:
Bottom Layer – Cotton: Place a thin layer above the cap’s holes to catch fine particles. Do not compact too tightly.
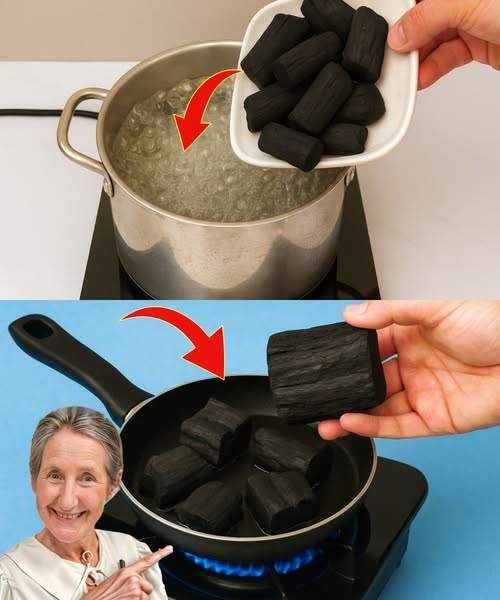
Second Layer – Charcoal: Crush boiled, dried charcoal into small chunks and add on top of the cotton. This removes odors and some impurities.
Third Layer – Fine Sand: Pour a layer of clean sand over the charcoal to trap smaller particles and regulate water flow.
Fourth Layer – Charcoal (again): Add another layer of crushed, boiled charcoal for additional purification.
Fifth Layer – Sand: Another thin layer of sand helps stabilize the charcoal and continues filtering fine debris.
Top Layer – Gravel or Small Pebbles: Place a layer of clean gravel or small pebbles to block large debris and evenly distribute water over the layers below.
Step 4 – Test Your Filter:
Place the top half of the bottle (filter) upside down into the bottom container. Slowly pour dirty water over the gravel. Water will drip through each filtration layer, coming out noticeably clearer. While not fully purified, it’s much safer and cleaner than the original source.
Serving and Storage Tips
